
How to Play Anime Zombie Arena
Master the wave loop, positioning, ability timing, and co-op roles for endless survival.
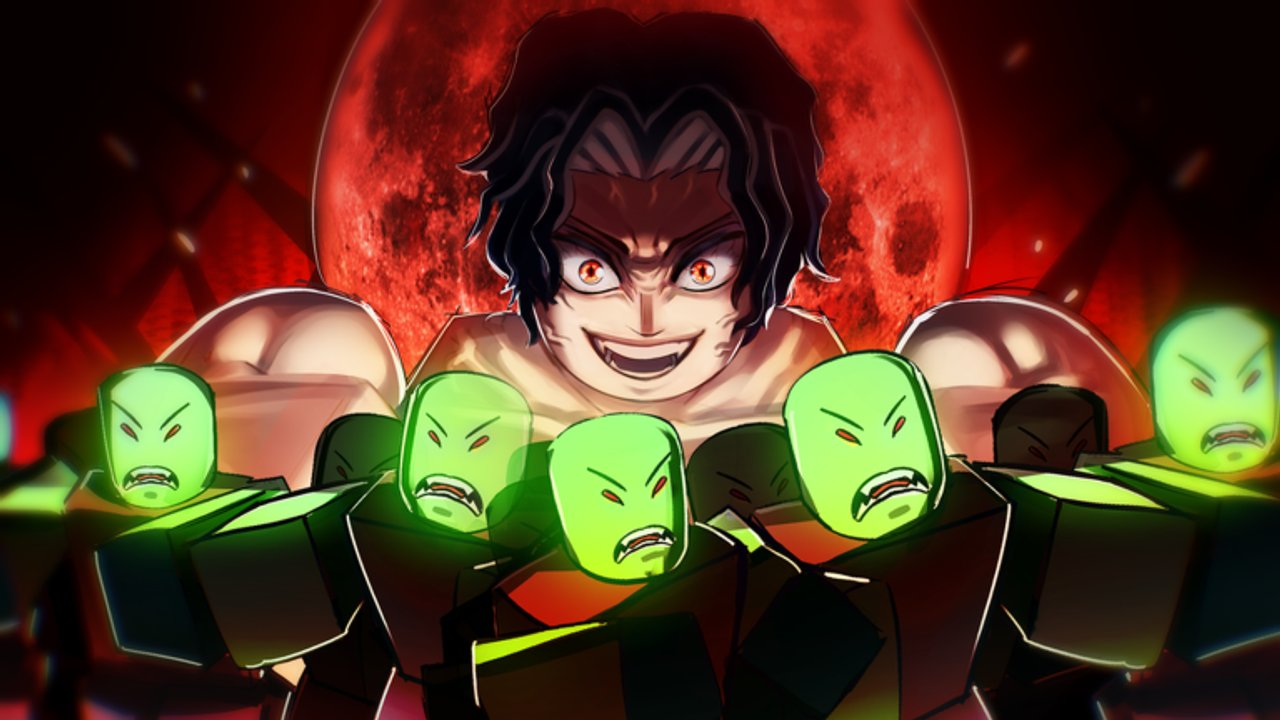
This How to Play guide is the deep dive for Anime Zombie Arena on Roblox. The official fantasy is simple to say and hard to execute: survive endless zombie waves, use unlockable classes with unique abilities, summon legendary units, defeat bosses, and practice team building with up to 25 players. Below is the core loop broken into systems you can practice every session.
New players should finish Getting Started first. Come back here when you want cleaner clears, not just longer ones.
The core loop at a glance
- Enter a lobby and confirm your class/loadout plan.
- Clear trash waves while managing space and cooldowns.
- Respond to spikes (elites, density jumps, or events) with abilities and summons.
- Convert pressure into progression (unlock currency, class progress, or summon resources鈥攚hatever the live UI tracks).
- Face boss encounters with a composition and burst plan.
- Recover or reset after wipes without tilting into worse decisions.
Endless mode means there is no single 鈥渇inish line.鈥?Your personal win condition is a wave goal, an unlock goal, or a boss clear鈥攕et it before you queue using the Loadout Planner.
Waves: density, pacing, and greed
Waves punish two opposite sins: standing still and over-kiting into nowhere.
Standing still feels strong when your DPS archetype is melting a pile, then a side spawn wraps you. Practice a rhythm: attack package 鈫?step to a pre-chosen reset lane 鈫?re-engage. Over-kiting pulls zombies into teammates鈥?blind spots and breaks AoE stacks the lobby was relying on.
Practical wave habits:
- Pick a default reset direction at the start of each wave (left wall, center prop, far pad鈥攚hatever the map offers).
- Watch the edge of your screen for new spawns while you fight the current pack.
- If the lobby forms a death ball, decide whether you are an inside DPS or an outside peeler. Both are valid; mixing randomly causes friendly chaos.
- When HP dips, prioritize disengage tools over one more heavy hit. Survivability is a listed tier-list pillar for a reason鈥攕ee the Class Tier List.
Farm-focused players should also read the Farming Guide so wave length matches unlock goals.
Positioning for a crowded arena
With as many as 25 players, space is a resource.
- Frontline sustain / tank archetypes hold predictable lanes so DPS can pre-aim.
- Ranged DPS keep a corridor behind them empty for retreat.
- Support stands where they can see the densest cluster of allies without standing in every telegraph.
- Summoner play keeps a summon drop zone that does not block ally pathing.
Call collisions early: 鈥渟tack mid,鈥?鈥渟pread for cones,鈥?鈥渉old east pad.鈥?Short calls beat essays mid-fight. The Players Hub and Controls help you actually execute those movements on your device.
Ability timing
Classes bring unique abilities. Timing beats spamming.
Use this decision tree:
- Is a wipe-level threat on screen (boss slam, overwhelm spawn)? Save or spend defensive tools now.
- Is the lobby about to burst a priority target? Align offensive cooldowns.
- Are you only fighting routine trash? Use rotation fillers, not panic buttons.
- Did you just waste a cooldown on nothing? Play safer until it returns鈥攄o not greed as if it were available.
Track two personal timers mentally: mobility/defense and big damage. If both are down, your job is positioning and basic attacks only. Pair this mindset with the Classes Guide when choosing which kit to main.
Summons inside the loop
Legendary units are not separate from the loop; they are a timed multiplier. Integrate them like a second ultimate:
- Pre-declare the window (鈥渟ummon on next elite鈥?.
- Drop them where allies can protect or amplify them.
- Avoid summoning into a scheduled boss move that deletes pets instantly if you can wait five seconds.
Details and resource management live in Units and Summons and the Unit Tier List.
Co-op roles in a 25-player lobby
Team building is an official feature pillar. Translate it into roles:
| Role focus | Primary job | Failure mode |
|---|---|---|
| DPS | Clear speed on trash and boss burn phases | Dies first to telegraphs |
| Support | Keep uptime, utility, or heals flowing | Stands too far to matter |
| Tank / sustain | Stabilize chaos, buy time | Cannot create space alone if ignored |
| Summoner | Multiply pressure with units | Starves resources or mistimes drops |
You do not need a perfect MMO raid comp. You need coverage. Four pure DPS with zero sustain will farm early waves quickly and then collapse on bosses鈥攅xactly the scenario the Boss Guide tries to prevent.
Public lobby tip: announce your role in chat once. If six people claim DPS and nobody claims sustain, switch. Ego less, clear more.
Boss beats inside the same loop
Bosses are the loop under a spotlight:
- Telegraph reading replaces trash multitasking.
- Burst windows replace continuous spray.
- Wipe recovery replaces mindless requeue.
Treat the first pull as information. Survive patterns, then spend cooldowns on the second attempt. Full framework: Boss Guide.
Practice drills (10鈥?5 minutes each)
- Reset drill 鈥?intentionally disengage every 10鈥?5 seconds during easy waves until the motion is automatic.
- Cooldown honesty drill 鈥?never press your big ability unless you can say why in three words.
- Role lock drill 鈥?play one archetype for a full session; no kit hopping.
- Summon window drill 鈥?only summon on called spikes for an entire run.
- Callout drill 鈥?make three useful chat calls per boss attempt.
Log which drill failed. That failure tells you whether to reread Controls, Classes, Summons, or Boss pages.
Linking progression to play quality
Better play accelerates unlocks because you waste fewer runs. Still, spend smart:
- Prioritize unlocks that fix your personal bottleneck (survivability if you die early; clear speed if waves take forever).
- Use Tier List Hub criteria, not vibes.
- Claim Codes when active.
- Watch Updates so you are not practicing a patched-out timing.
Related reading map
- Getting Started 鈥?day-one route.
- Classes Guide 鈥?choosing and unlocking kits.
- Units and Summons 鈥?summon economy.
- Boss Guide 鈥?hard encounter structure.
- Farming Guide 鈥?efficient progression.
- Guides Hub 鈥?full index.
- Loadout Planner 鈥?pre-session checklist.
Master the loop and every other Anime Zombie Arena page becomes easier to apply. Miss the loop and no tier list will save the run.
Frequently Asked Questions
Quick answers for Anime Zombie Arena players.
What is the core gameplay loop in Anime Zombie Arena?
Clear endless zombie waves with class abilities and summons, convert pressure into progression, then handle bosses with team roles鈥攔epeating as far as your lobby can go.
How many players can be in a server?
Up to 25. Plan positioning and roles with crowded space in mind.
Should I always stack with the crowd?
Only when AoE and support benefit from it. Spread for dangerous telegraphs. Decide intentionally instead of drifting.
When do I use big abilities on normal waves?
On density spikes or to save a collapsing lane鈥攏ot on the first three zombies of a fresh wave.
How do summons fit into normal play?
Treat them like timed ultimates: call a window, drop where allies capitalize, and avoid known wipe animations when you can wait.
What should I practice if I keep dying?
Reset drill and Controls tuning first. Then add sustain-focused class choices from the Classes Guide and Class Tier List.